Craft Room Tour
Welcome to my craft space!
I hope you enjoy this look into my craft space. We recently moved and I had to create a new space for myself that was much smaller than my previous space. Thanks to a lot of Ikea pieces I was able to do this without difficulty. You can see all of the details below as well as a video walkthrough at the end of this post.
As a trained Interior Designer, I always plan out my moves using AutoCAD and insuring that I know where everything is going to go before our move date. Of course, that is what I did this time also. We had decided that my craft space would be part of our basement family room and so I focused on how to best maximize this corner of the room. I created a "hallway" to my space using two Kallax units. These units hold all of my scrapbooks as well as a few other items. They also create a nice long counter type space for display and project work space.


One item that I keep on top of these Kallax units are my die cuts. I have these Zutter die and stamp storage containers that I really love! They hold all of my dies on magnetic sheets that stand up so that I can easily flip through and choose the ones I want. They do come with a lid as I've shown but I keep them open and readily available since I use them so often.


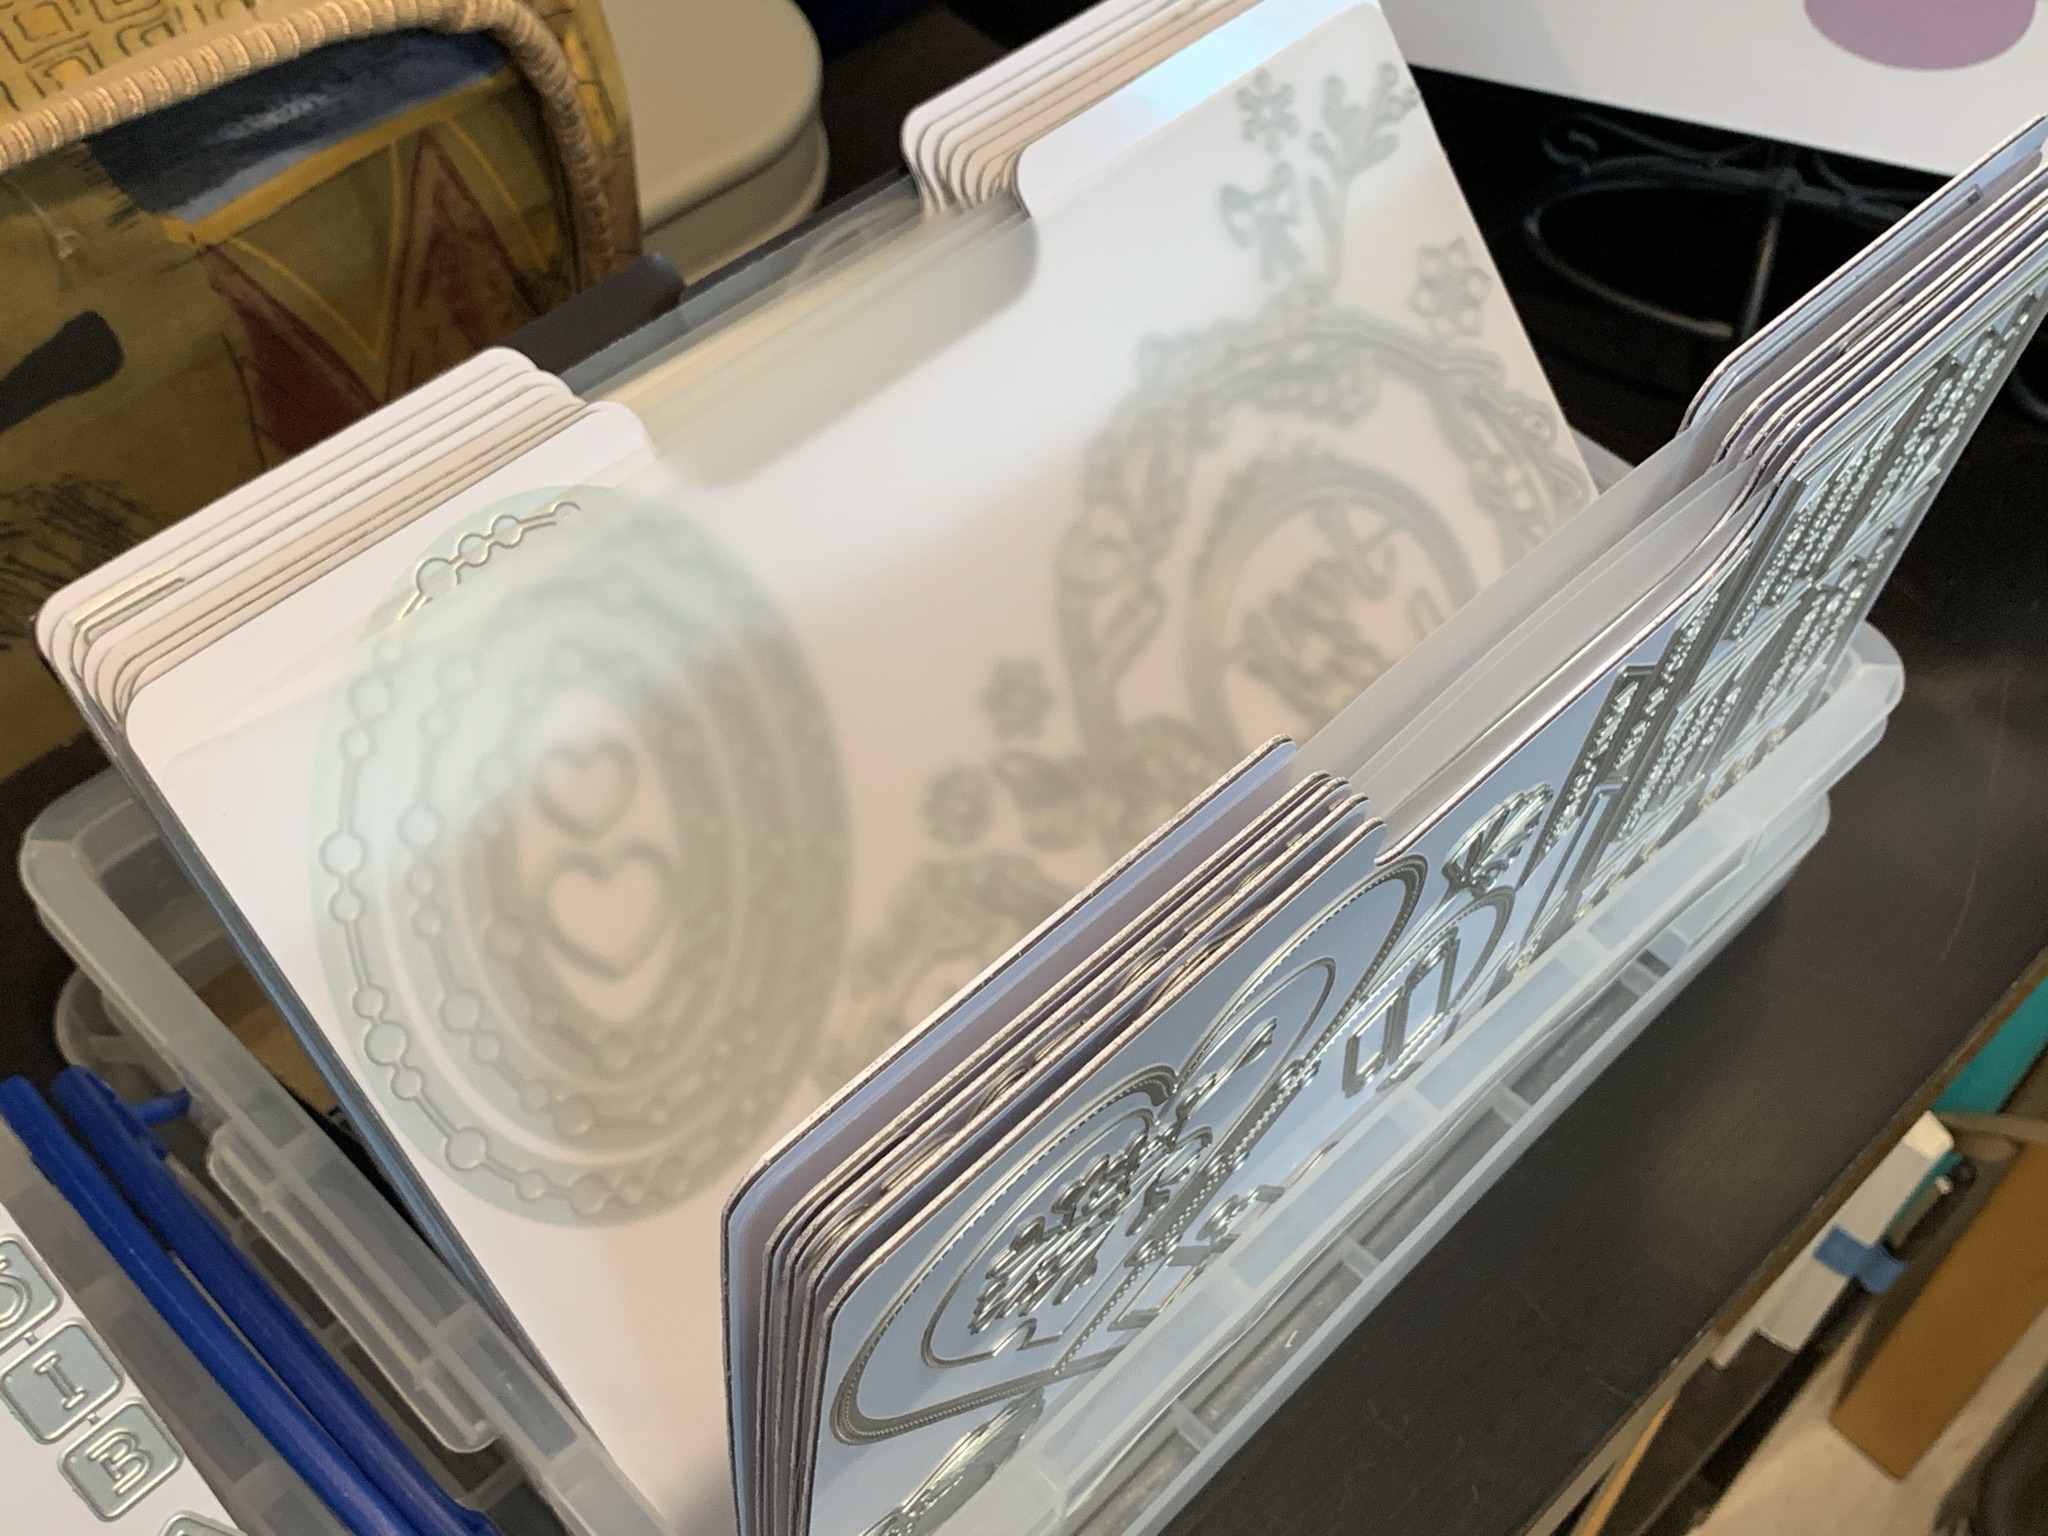
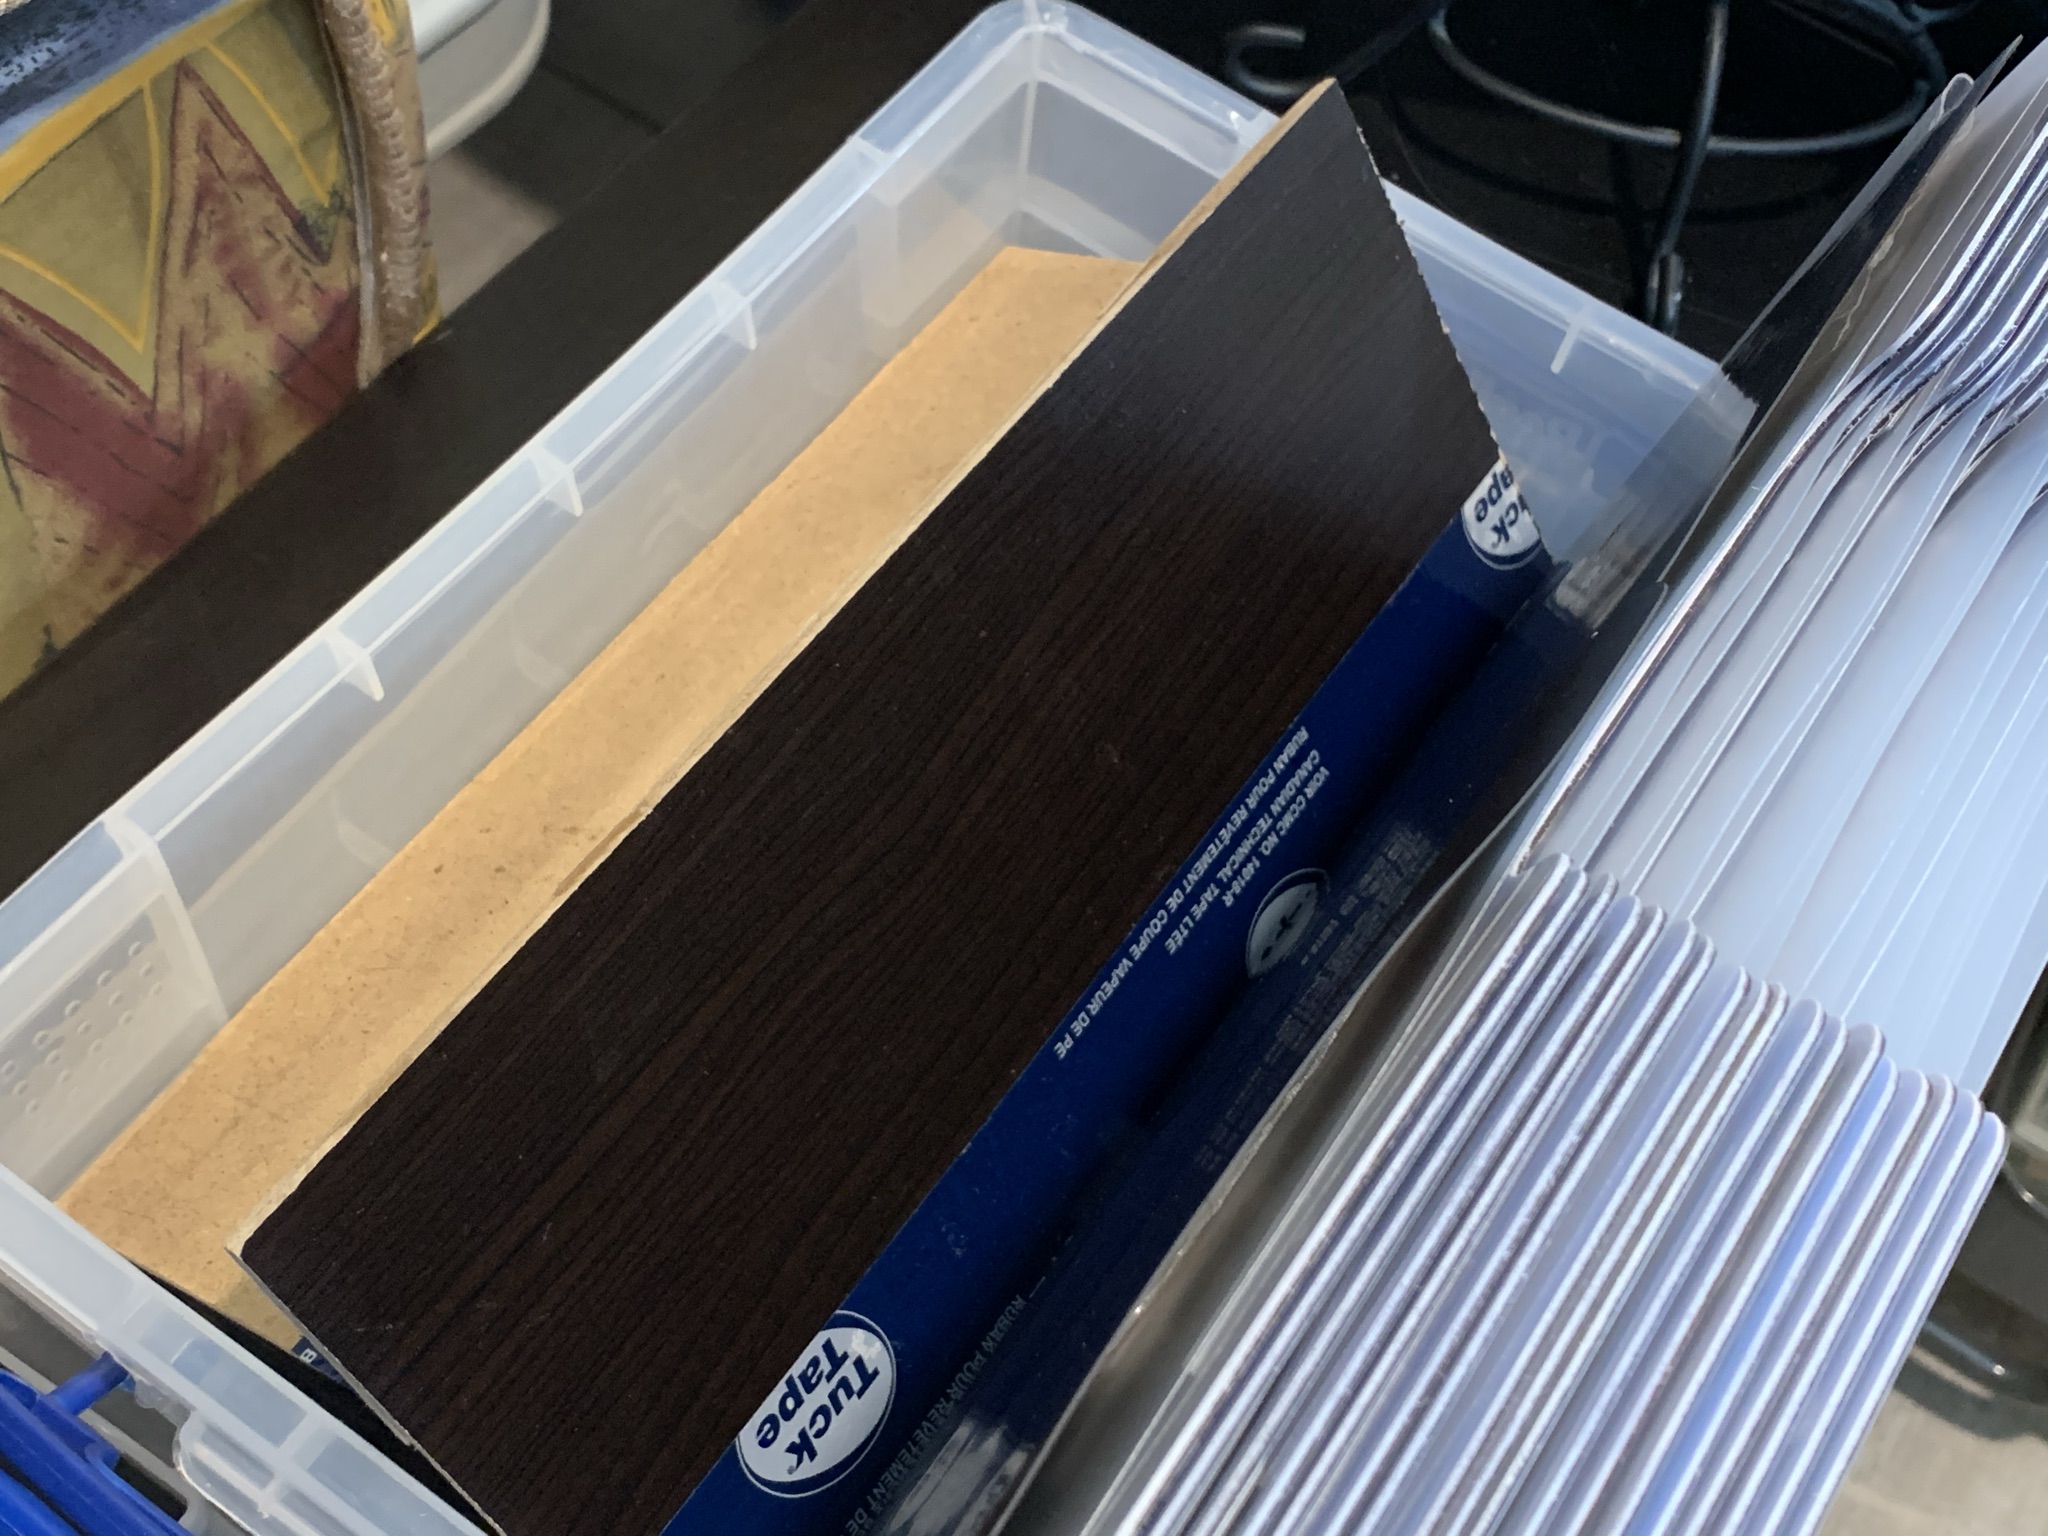
There was an insert available for purchase but I can't find it anymore so I just went ahead and made one using a scrap piece of hardboard I had lying around.

My desk is actually a table that a friend gave to me. It is 32" x 63" and it gives me enough room to have all of the things that I use most right at my fingertips.


On the left of my desk I keep my paper trimmer and a tool caddy as well as some cubbies that hold various embellishments. In the middle of my desk is my Workspace Wonders storage units. These are amazing units that are reconfigurable and totally customizable. They are even available in a starter bundle! In between the two stacks I keep my VersaMats, score board and stamping platform.


On the right side of my desks is my ink tower, power for my phone/tablet, tape runner and another organizer for various tools. My phone mount is attached here for when I make process videos. I have added a wall mounted light here to light up my worksurface. I also have a Scor-Tape stacker and a Scrapamabob drink holder/garbage containter. I love being able to keep my drink off of my desk. Who else has learned that lesson the hard way!! I just added a paper towel holder under my table (do you know how hard it is to find one of these paper towel holders now???) as it just never seemed to have a good spot before. I keep my old drafting brush handy for cleaning my desk as well as a recycle bin for all my scraps.


Just beside my table on the left is a plastic drawer unit (a very long time ago this use to hold my entire craft room) which holds a lot of embellishments including flip flaps, baby wipes, alpha sheets, wood shapes, etc., etc. On top of this is the tool caddy which holds all my stamping blocks, shimmer brushes, pens and much more. Behind that is my Ikea Raskog cart which holds all of my pocket cards as well as an old medium organizer with more embellishments. I've attached some Ikea containers (I don't think they are available anymore) to the side and they hold my acrylic shapes, tape runner refills and other random bits and pieces.


Tucked in behind the wall, on the right of my desk, are all of my stamp containers and more organizers. My stamps are stored in the retired large organizers. I've removed all of the buttons off of my older stamp sets and also removed all of the paper inserts so that they take up as little space as possible. I've catalogued all stamp sets into Evernote which has been a complete game changer!! Now I just have to look up whatever I'm wanting on my ipad and then just go directly to that stamp. The stamps are organized numerically so that they are easy to find. I highly recommend this for anyone that has a large stamp collection. Prior to this I must say that I rarely used my stamps and hated having to pull them all out and flip through them just to try to find something. The yellow box is all of my finished cards so that I can quickly find one when I need it. I also keep my all-purpose mat and some others on the shelf here. My washi tape is stored in the white container. I found this at Michael's quite some time ago and love it! Just below my stamp shelves are some cube containers from Michael's which sit on top of a Linnmon table from Ikea. Below the table are some 12x12 storage that hold various papers and specific themed collections. On the left of the table I have a spot to slide in my photo backdrop, large display board and a few other oversized items.

Finally, behind my desk is more storage and counter space. I have two retired Ikea units on either side that hold most of my papers, storage boxes that hold my adhesive, envelopes, mini book supplies, bags and tools. I have a few smaller containers that hold shaker supplies, embossing folders, ribbon, punches and more. All my how to books fit onto these shelves also. I have taken apart two different plastic drawer units to store my business supplies and mixed media supplies. I use the top of the Kallax unit to hold my Cricut Explore and my CTMH die cut machine (which I think is the best one around). I have power handy right there although which makes it easy to unplug my Explore after each use.
You can check out the video walkthrough here.
I really hope you enjoyed this tour and all of the details. If you have any questions about any components of my space then please drop a comment. Have a wonderful day!

Comments
Post a Comment